Real Estate Shoot Guide
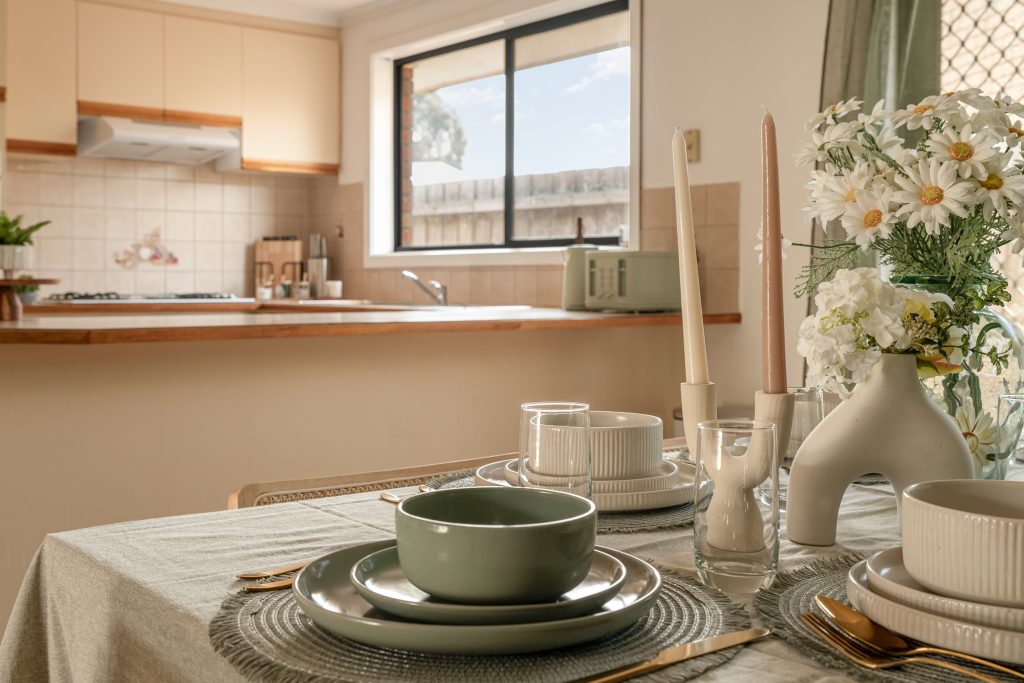
How to Prep Your Property Before the Photographer Arrives
Selling your property and want those photos to make buyers drool? Well, you’re in luck. Here’s how to get your place in tip-top shape before the professional real estate photographer shows up at your Adelaide doorstep.
First off, let’s get real about staging. It’s more than just fluffing pillows; it’s about creating a scene that’ll make people think, “I want to live here!”
Stage Like Your Sale Depends On It (Because It Does)
Before the photographer arrives, tackle these key areas:
Declutter Like a Pro
Hide the junk but keep the charm. No one wants to see your stack of old newspapers, but a well-placed book or two can add warmth.
Let the Light In
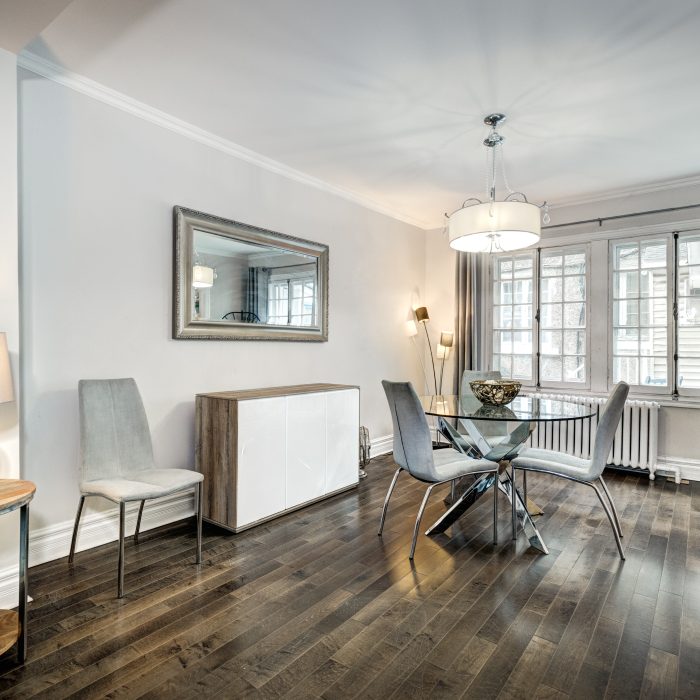
Open curtains, blinds, and maybe even a window if the weather’s nice. Natural light makes rooms look bigger and more inviting.
Arrange Furniture Thoughtfully
Create clear pathways and cozy spots. Move that bulky chair that’s blocking the view. Show off the space, not your ability to hoard furniture.
Make Your Listing Unforgettable
Don’t settle for mediocre photos. Get in touch now to schedule your shoot and stand out in the market.
Timing Isn't Just About Clocks
When booking your professional real estate photography session in Adelaide, consider:
Golden Hour Glamour
Schedule shoots during early morning or late afternoon when the light is just right. Your property will look like it’s glowing from within.
Weather Wise
Check the forecast. A sunny day is great, but a few clouds can add character. Just avoid scheduling during a torrential downpour unless you’re selling a submarine.
Seasonal Highlights
Use the time of year to your advantage. Got a blooming garden in spring or vibrant leaves in autumn? Perfect!
The Ultimate Pre-Photoshoot Checklist
Before your photographer rings the doorbell, make sure you’ve:
Cleaned Every Nook and Cranny
We’re talking a deep clean that would make your mother proud. Dust, mop, scrub, repeat. A clean home shines on camera.
Removed Personal Items
Hide family photos, toothbrushes, and that embarrassing fridge art. Buyers need to imagine their own lives in the space.
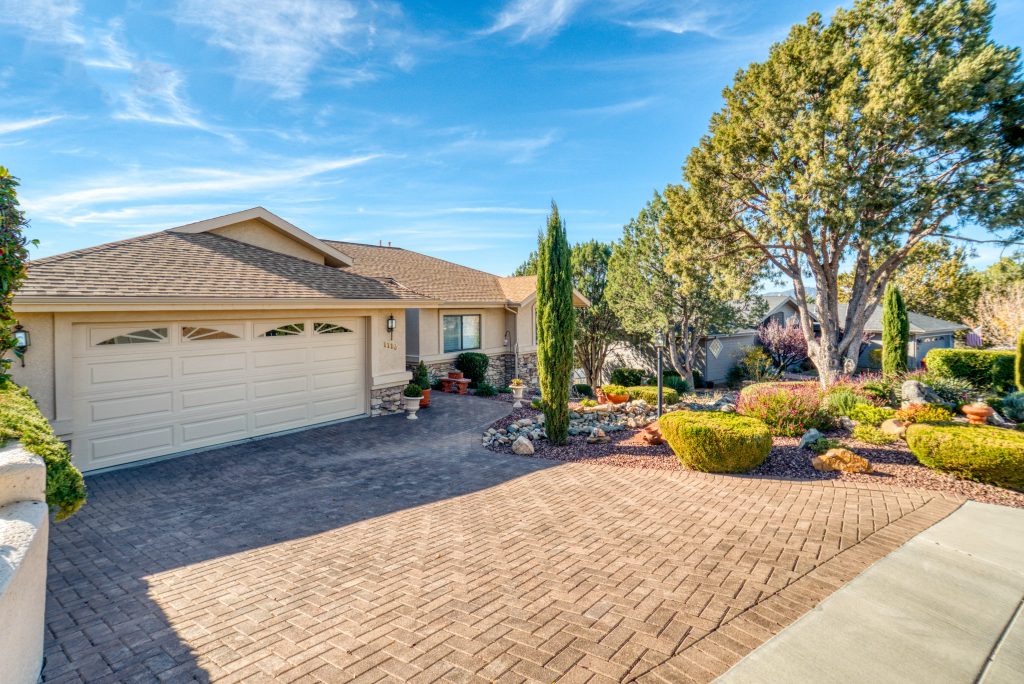
Enhanced Curb Appeal
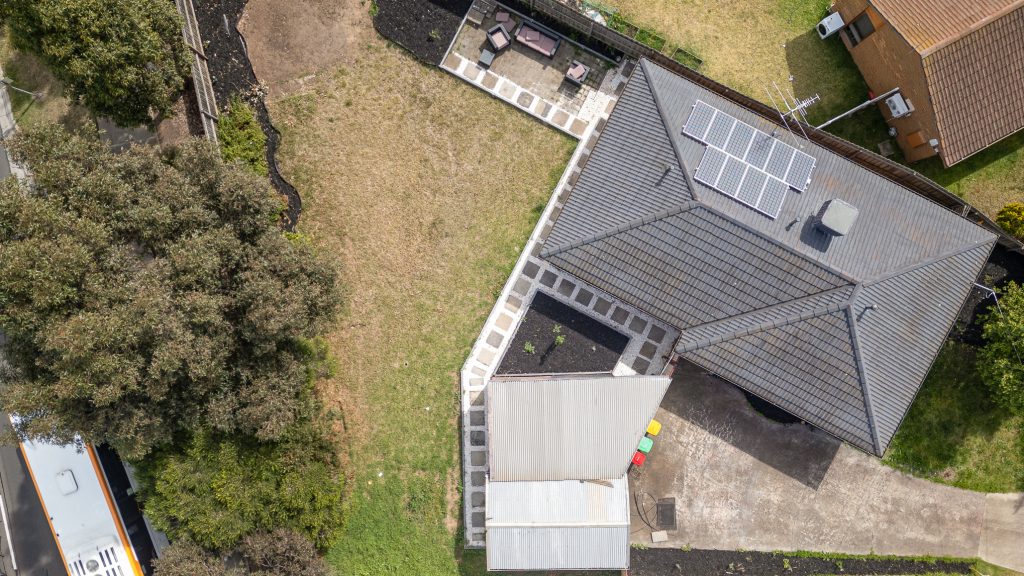
First impressions start outside. Mow the lawn, weed the garden, and maybe even give the front door a fresh coat of paint.
Prepared Each Room
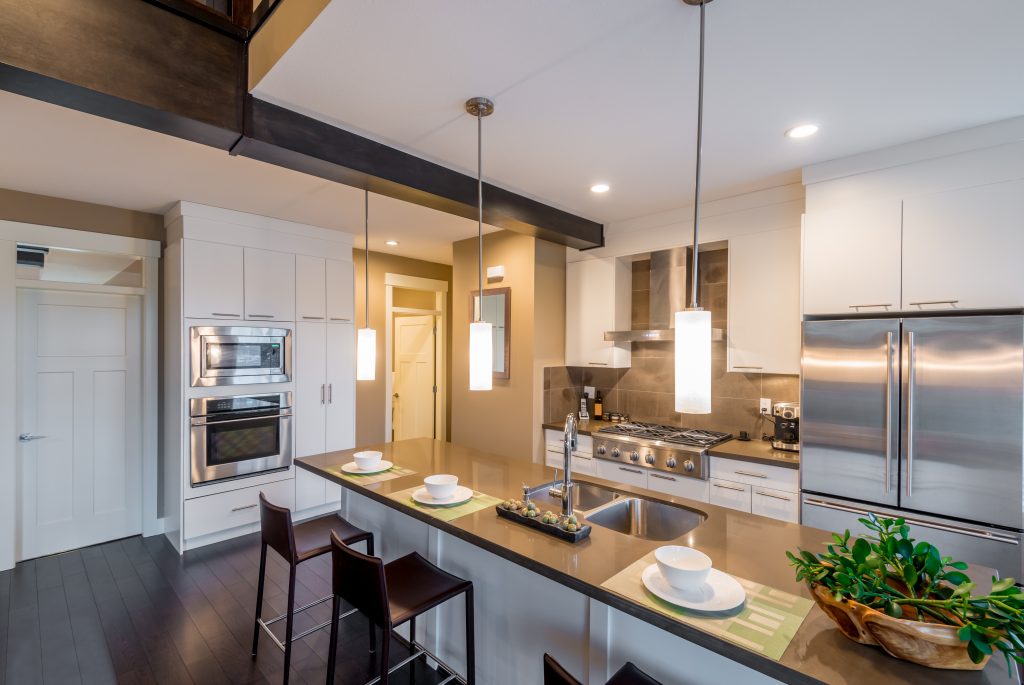
Kitchen: Clear countertops, shine appliances, and hide the dirty dishes.
Bathrooms: Put down the toilet seat, hang fresh towels, and stash away toiletries.
Bedrooms: Make the beds, tidy up, and remove any “unmentionables” from view.
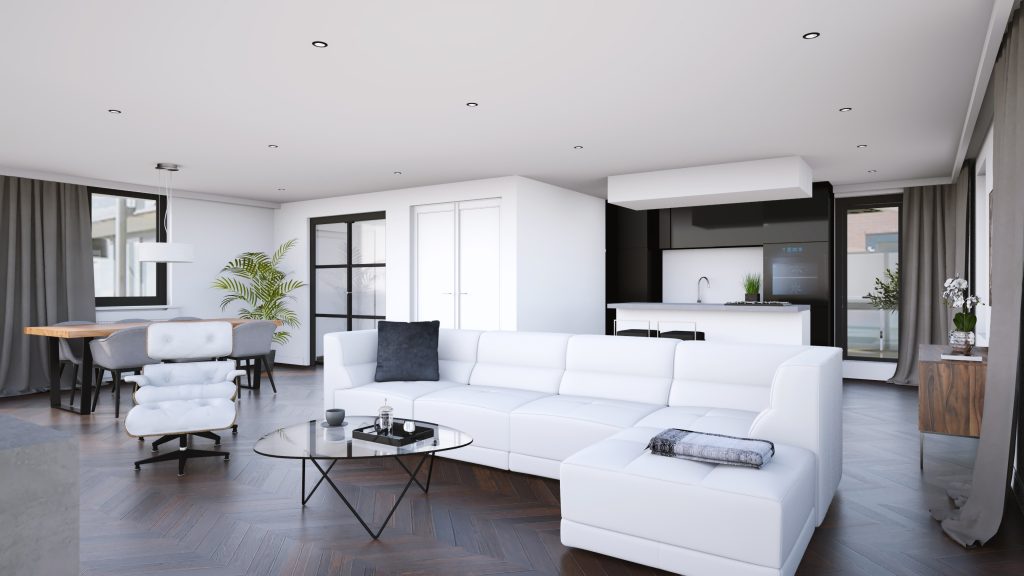
Living Areas: Fluff cushions, arrange decor, and ensure remotes and cables are out of sight.
Checked for Maintenance Issues
Fix that dripping tap or flickering light bulb. Small issues can be big turn-offs.
Secured Pets
As much as you love Fluffy, not everyone is a fan. Keep pets out of the way during the shoot.
Give the Photographer Some Space
Consider Stepping Out
While it might be tempting to stick around and watch the magic happen, your photographer will appreciate having the place to themselves. It allows them to concentrate, experiment with different lighting and angles, and get the best shots without feeling like they’re being watched. So go grab a coffee, take a walk, or run some errands. Trust me, they’ll thank you for it.
Team Up with Your Photographer
When they arrive, work with them to showcase your property’s best features:
Highlight Unique Selling Points
Tell them about the things that make your home special—a stunning view, custom finishes, or that hidden wine cellar.
Be Open to Suggestions
If they recommend moving something or adjusting the setup, they’re doing it to get the best shot. Trust their expertise.
Final Touches Before the Lens Clicks
Just before the shoot begins:
Do a Walkthrough
Take one last look around. Is everything in place? Any stray items that need to be tucked away?
Set the Mood
Turn on all the lights, even during the day. It adds warmth and depth to photos.
Silence is Golden
Turn off TVs, radios, and noisy appliances. Distractions can ruin the vibe.
Let's Make Your Property Shine
Prepping your property isn’t rocket science, but it does require some elbow grease. By taking these steps before your photographer arrives, you’re setting the stage for stunning photos that will attract buyers like bees to honey.
Ready to showcase your property with professional real estate photography in Adelaide? We’re just a click away.
Ready to Capture Your Property's Best Look?
Fill out our contact form to book your professional real estate photography session in Adelaide today!
